7 Tips for Perfect Caramel
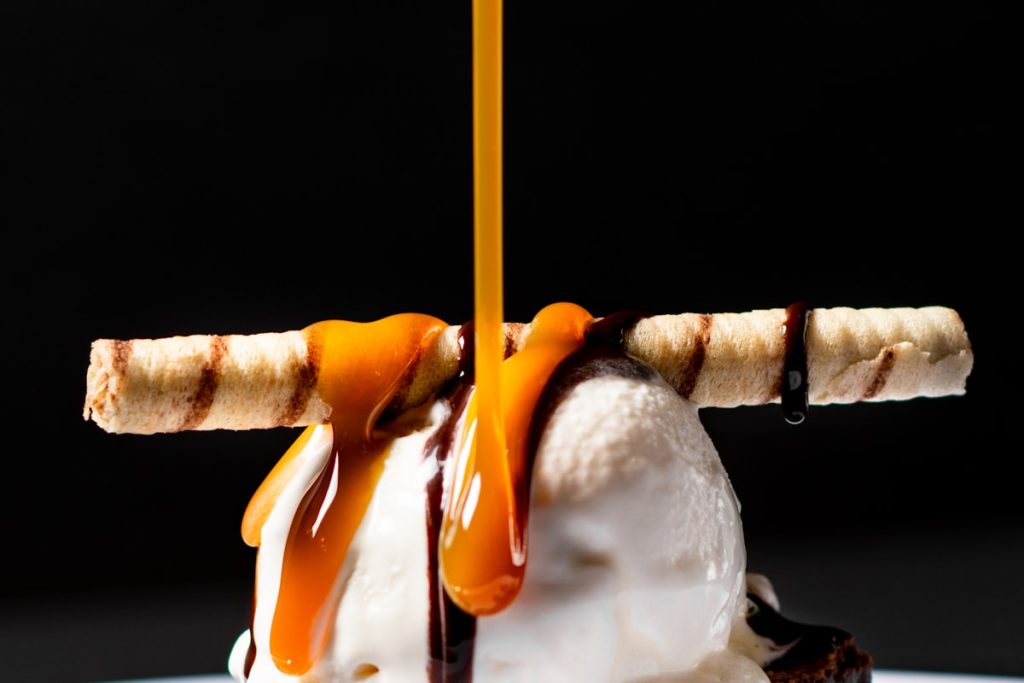
Caramel has a reputation as a kitchen bully, but it’s really just sugar following rules you weren’t told. These seven tips cover both wet and dry methods and every classic failure — crystallized, seized, scorched, pale — and caramel itself is naturally gluten-free, so master it once and desserts everywhere open up.
The 7 Tips
- Start with a clean, heavy, light-colored pan — heavy for even heat, light-colored so you can judge amber by eye.
- For wet caramel, don’t stir after the sugar dissolves; swirl the pan instead. Stirring seeds crystals and turns silk into sand.
- Brush down the pan sides with a wet pastry brush early — stray crystals above the syrup line are how chain-crystallization starts.
- Judge by color and smell over clock time: deep amber and one wisp of smoke-sweetness is the window; pale caramel is just sweet, dark is bitter.
- Warm your cream and butter before adding — cold dairy makes caramel erupt and seize into toffee lumps.
- If it seizes anyway, don’t dump it: return to low heat and stir patiently; the lumps re-melt.
- A thermometer settles arguments: 340–350°F (170–175°C) for sauce, 245°F (118°C) if you’re pulling back for chews and pralines.
Pro tip: Everything else in caramel-land — flans, pralines, tatins, sauces — is these seven rules wearing different outfits.
Gluten-Free Notes
A quick label-reading reminder: scan ingredient lists for wheat, barley, rye, and malt, and look for a gluten-free claim on anything processed. When a label is unclear, the manufacturer’s website usually settles it.
This post contains an Amazon affiliate link. As an Amazon Associate, glutenfreefarina.com/ may earn from qualifying purchases.
Shop candy thermometer on AmazonBrowse more in Baking Basics & Pantry, or explore our gluten-free breakfast recipe database and hot cereal guide.